
Building a blog with Realm Node.js and Express
Realm Node.js was released on November 16th. Its powerful features are now available server side with Node.js. In order to demonstrate how to use Realm, let’s build a simple blog.
This tutorial assumes you already use macOS or Linux environment to use the shell environment, and that Node.js and npm are installed. Instructions on how to install these see can be viewed here.
Setting Up the Default Environment
Create a directory named realm-blog:
mkdir realm-blog
cd realm-blog
Initialize the Node.js project:
$npm init
name: (realm-blog)
version: (1.0.0) 0.1.0
description: Realm Blog
entry point: (index.js)
test command:
git repository:
keywords:
author:
license: (ISC)
The name entry is specified as the project’s directory name automatically. Because it is the beginning of the project, I changed its version from 1.0.0 to 0.1.0. All other entries are set to default values.
We will use Express to handle the web requests, Realm Node.js for the database, Embedded JavaScript (EJS) to process its templates, and body-parser to parse queries which are passed from the form.
npm install --save express
npm install --save realm
npm install --save ejs
npm install --save body-parser
Install nodemon so that the server will restart whenever you modify the code.
npm install -g nodemon
In order to run the server using nodemon, you can use the node_modules/nodemon/bin/nodemon.js index.js command. But, because this is cumbersome we will make a short form command to run.
{
  ...
  "scripts": {
    "serve": "nodemon index.js"
  },
  ...
}
Run the test server by using npm run serve.
Hello Realm!
First, let’s register the code to handle requests for /.
'use strict';
var express = require('express');
var app = express();
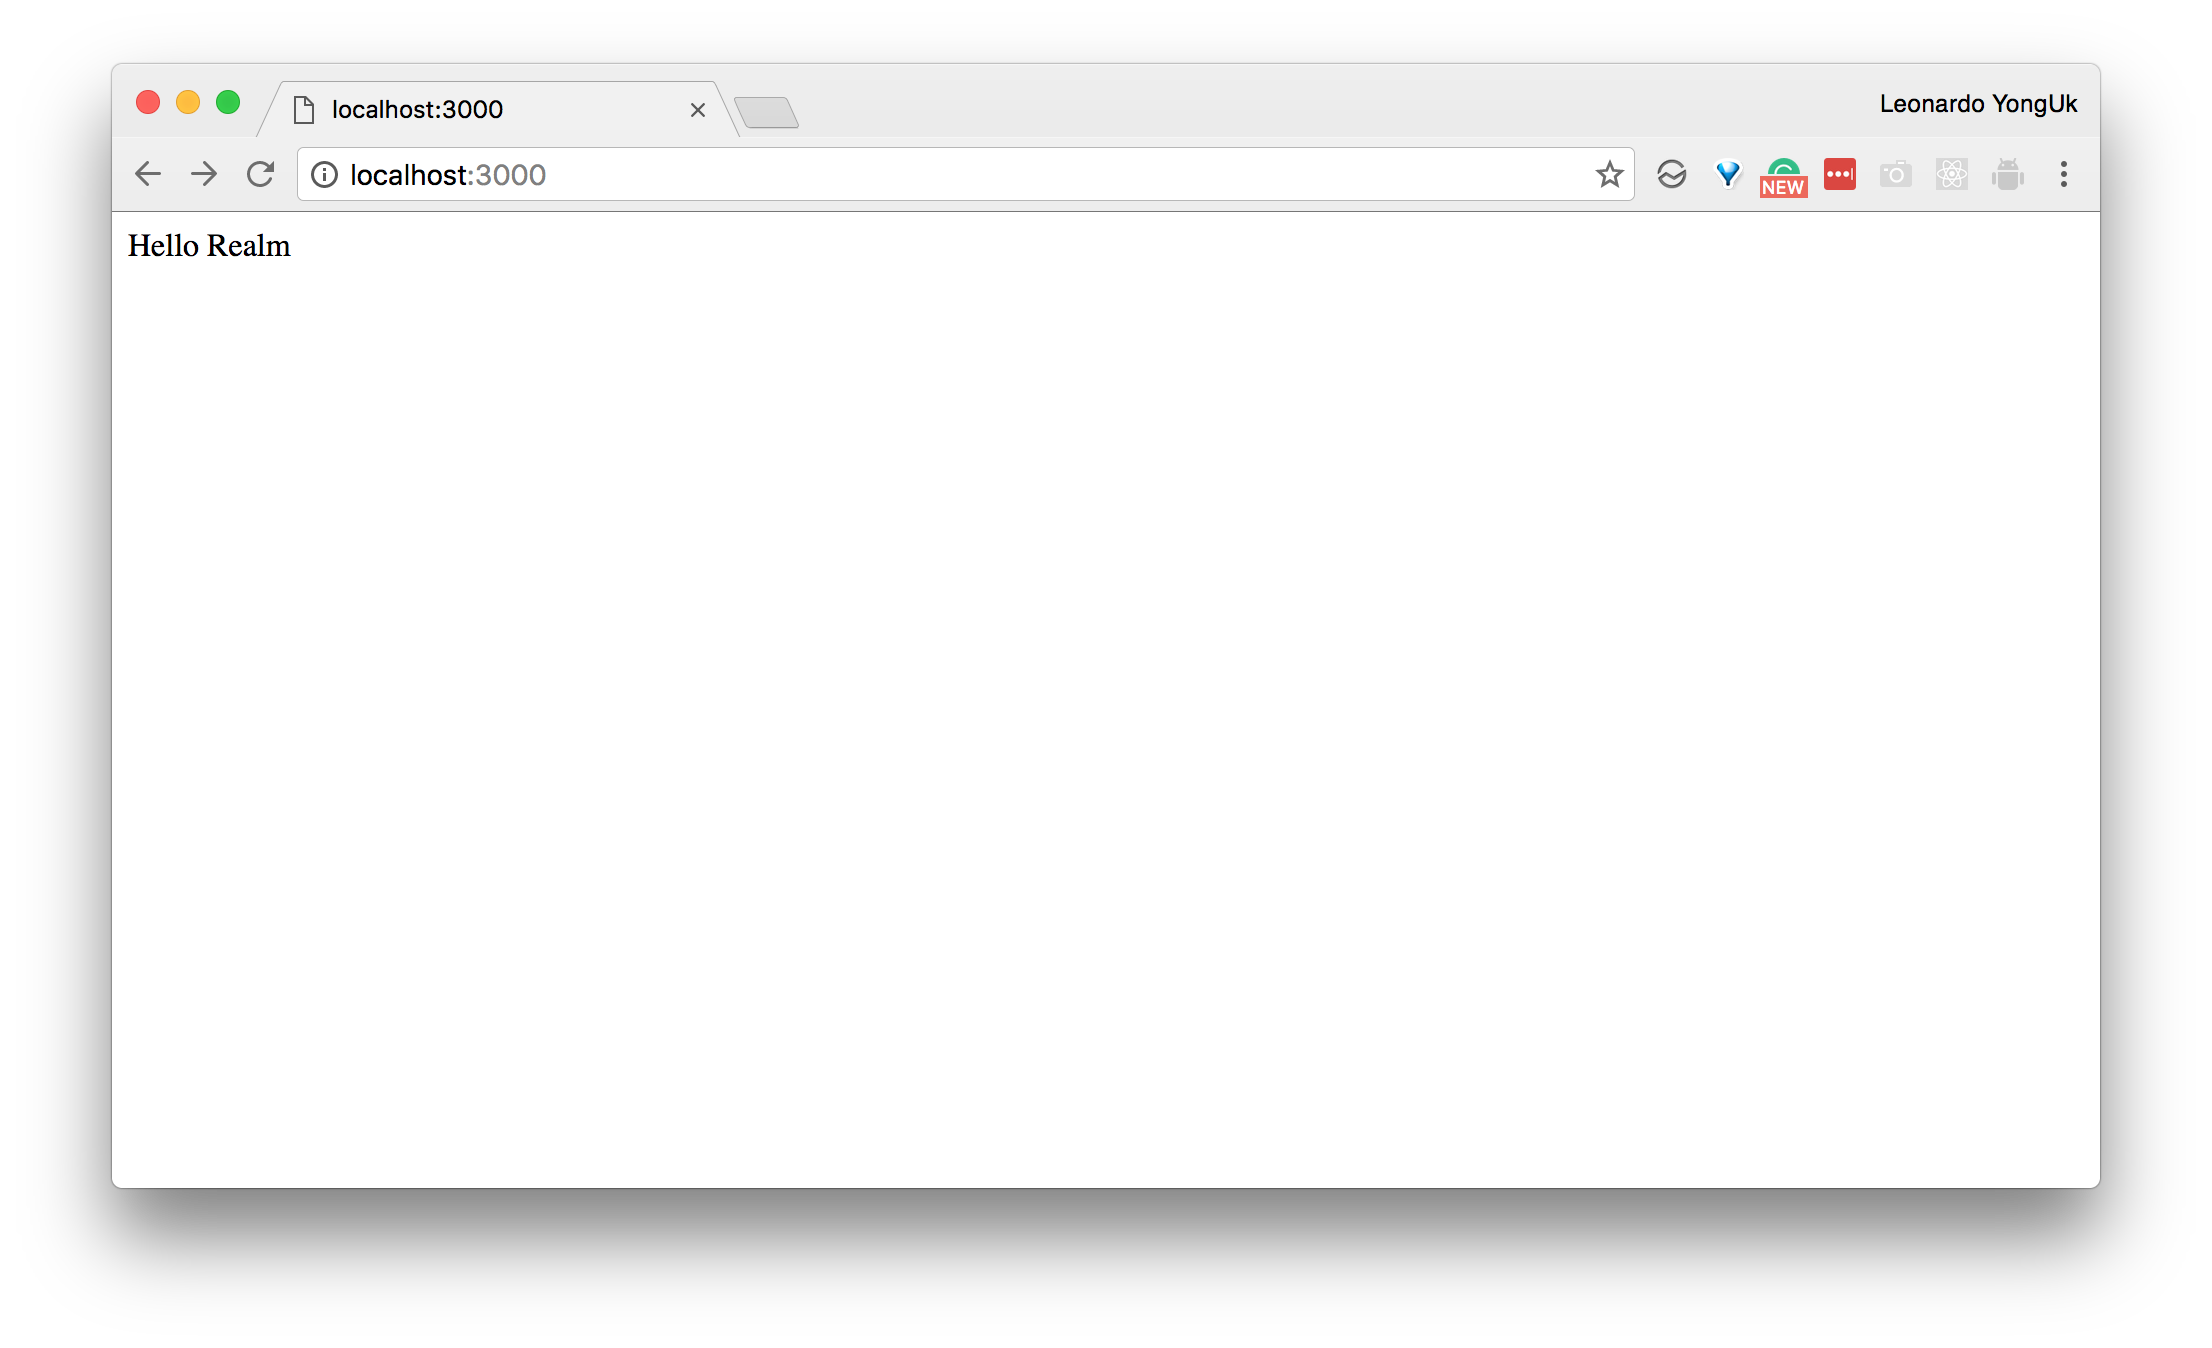
app.get('/', function(req, res) {
res.send("Hello Realm");
});
app.listen(3000, function() {
console.log("Go!");
});
When the server retrieves the GET requests from the path / and the port 3000, it returns Hello Realm. You can see this at localhost:3000 in your web browser.
Implementing the Write Feature
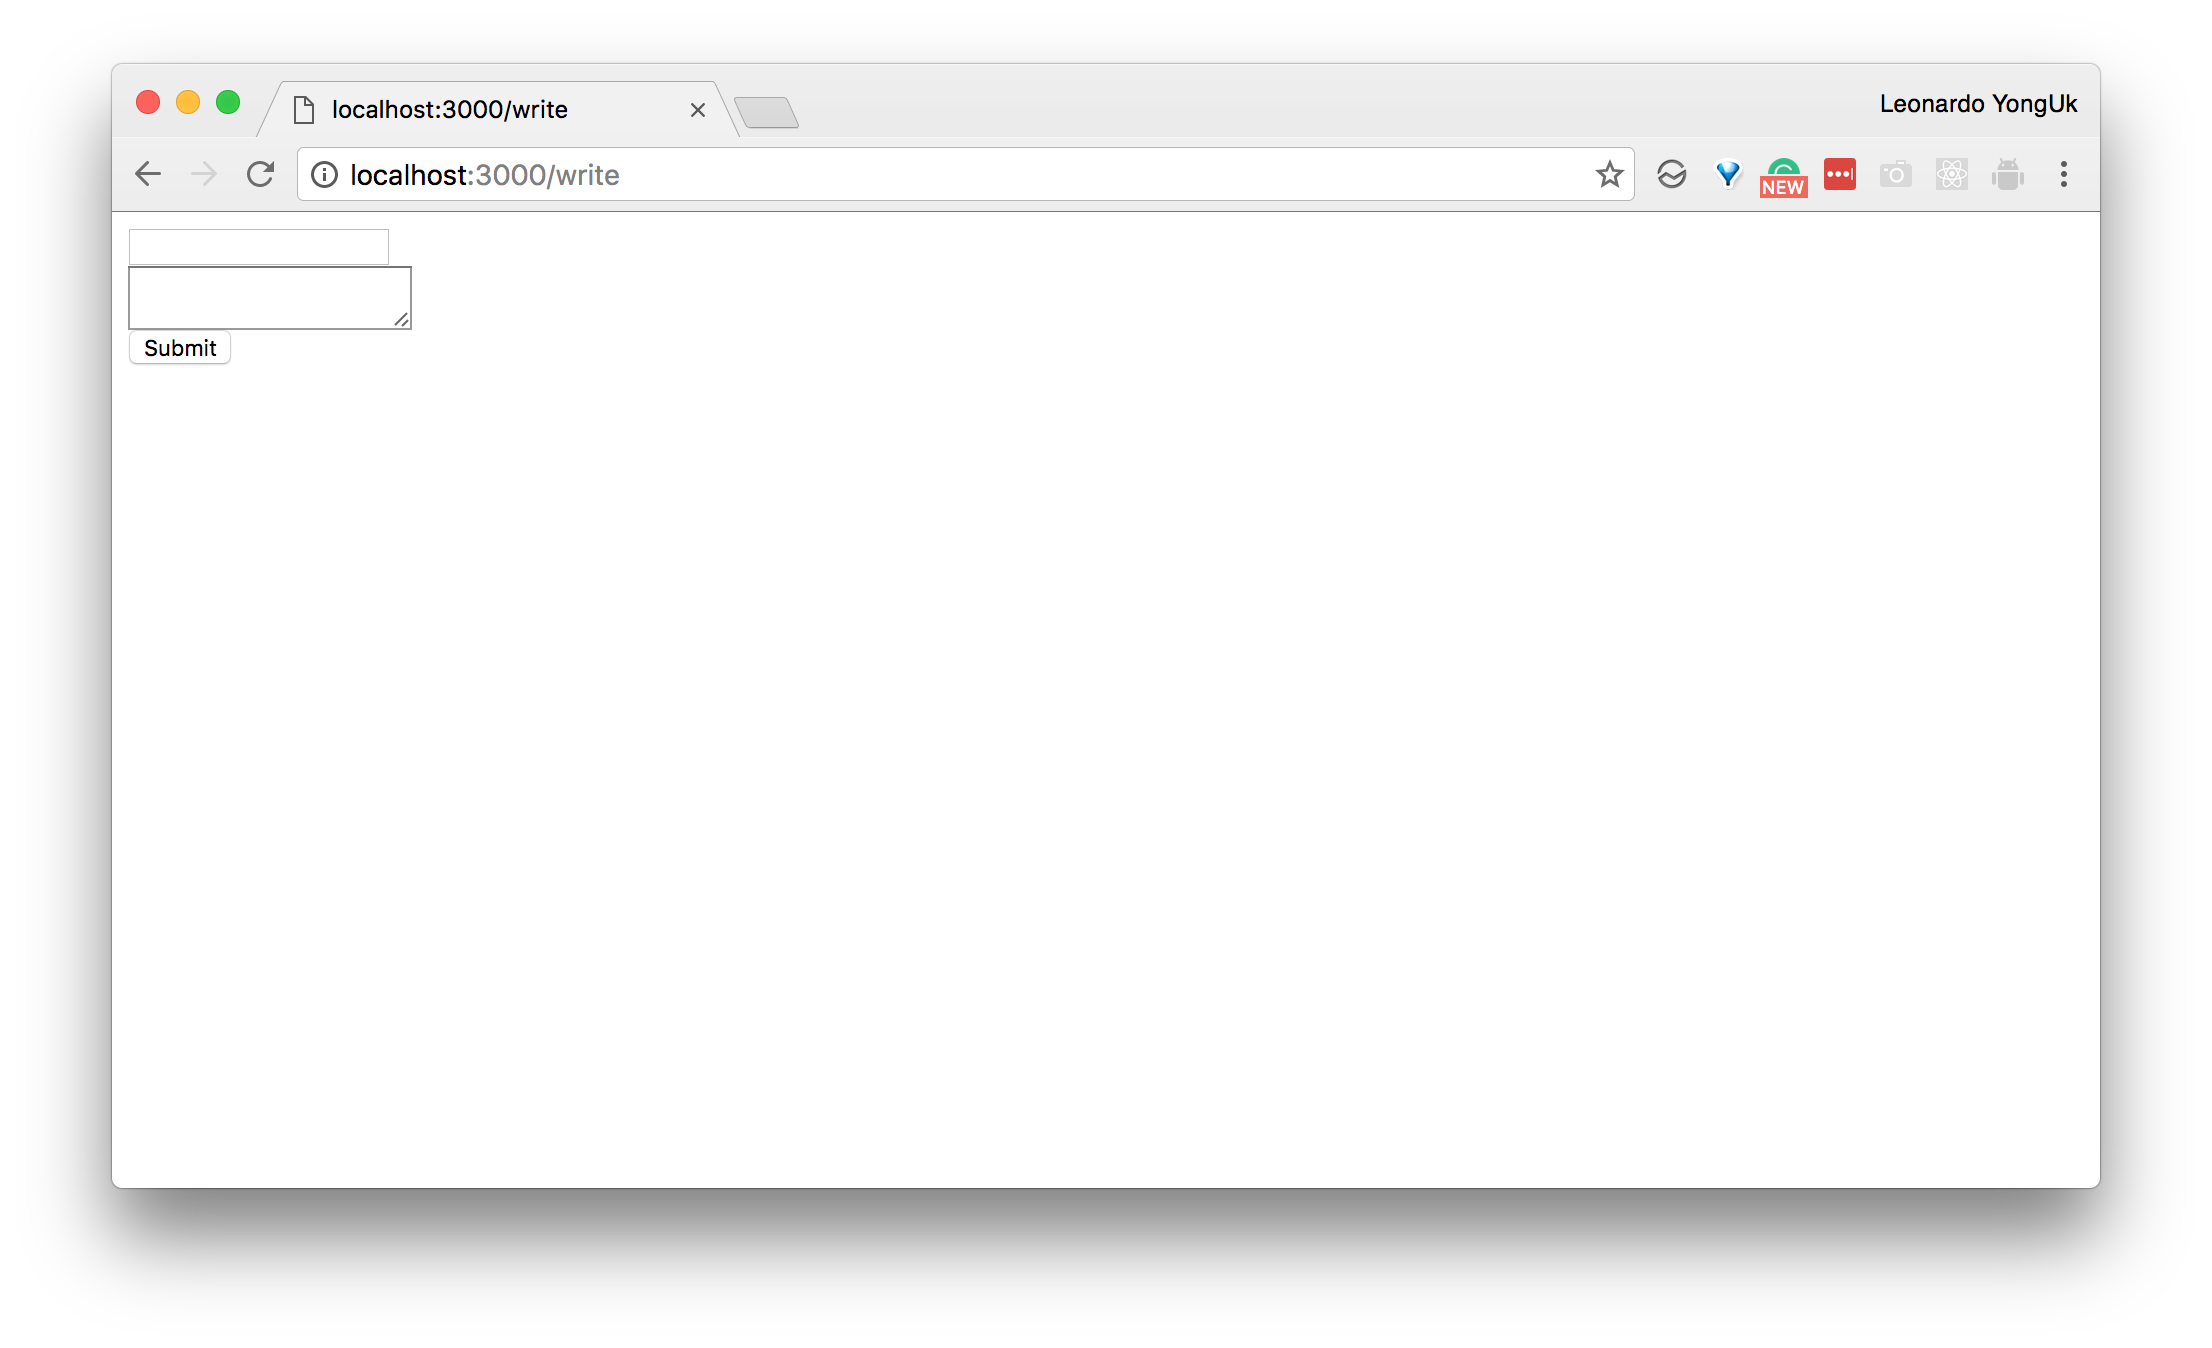
Let’s implement the write feature. In order to make a write form, create the file write.html:
<form action="/write" method="POST">
  <input type="text" name="title" /><br />
  <textarea name="content"></textarea><br />
  <button type="submit">Submit</button>
</form>
Add the following code to handle a GET request with the path /write.
app.get('/write', function(req, res) {
  res.sendFile(__dirname + "/write.html");
});
When the server gets the /write request, it returns the content of the file write.html.
You’ll see this at localhost:3000/write in your browser.
When you submit a written blog post, the server gets a POST request with the path /write. Append body-parser in your index.js to see the object coming through with the request:
var express = require('express'),
  bodyParser = require('body-parser');

var app = express();

app.use(bodyParser.urlencoded({extended: true}));

app.post('/write', function(req, res) {
  res.send(req.body);
});
You can write anything on localhost:3000/write and see the following output for that request:
{"title":"nice","content":"to meet you"}
Creating a Realm Schema
Let’s create a schema with Realm Node.js.
var express = require('express'),
  bodyParser = require('body-parser'),
  Realm = require('realm');

var app = express();

let PostSchema = {
  name: 'Post',
  properties: {
    timestamp: 'date',
    title: 'string',
    content: 'string'
  }
};

var blogRealm = new Realm({
  path: 'blog.realm',
  schema: [PostSchema]
});
In PostSchema, the first property name is the name of the model. We specified it as Post. There are three entries in properties: timestamp, title, and content.
The schema you created should be passed to the constructor of a Realm instance. The property path is the name of the database, and the schema is an array of schemas for various models, including the Post model. We only use one here as [PostSchema].
If you use multiple schemas, they should be added sequentially in the array.
Write Data in Realm
To provide the write feature, modify the POST handler for the path /write as follows:
app.post('/write', function(req, res) {
  let title = req.body['title'],
    content = req.body['content'],
    timestamp = new Date();
  blogRealm.write(() => {
    blogRealm.create('Post', {title: title, content: content, timestamp: timestamp});
  });
  res.sendFile(__dirname + "/write-complete.html");
});
Call write and then call create to write the object.
A write-complete.html file allows for a simple feedback on the UI to display the write success:
<a href="/">Success!</a>
Displaying Posts
Create the index.ejs file in the directory views to display posts:
<h2>Realm Blog</h2>

<a href="/write">Write</a>

<% for(var i=0; i<posts.length; i++) {%>
<h3><%= posts[i].title%></h3>
<p><%= posts[i].content%></p>
<% } %>
This is a template displaying a series of blog posts from the posts array sequentially. The modified handler allows you to pass the posts array to the template.
app.set('view engine', 'ejs');

app.get('/', function(req, res) {
  let posts = blogRealm.objects('Post').sorted('timestamp', true);
  res.render('index.ejs', {posts: posts});
});
In order to use Embedded Javascript(EJS) template engine, we use the method app.set. Blogs usually display the most recent post first, so the second parameter of the sorted method is set as reverse.
Update everything, and then click Write to write your first post, and you should see the following screen.

For the complete example, please check out the code here.
About the content
This content has been published here with the express permission of the author.